How to Take Great Airbnb Photos: An Essential Guide
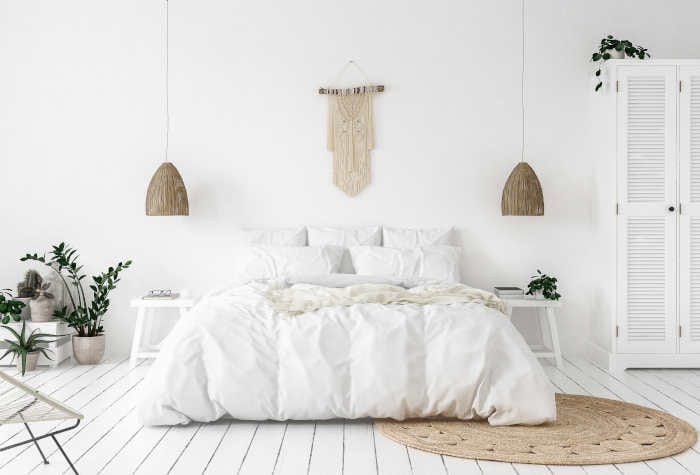
According to experienced hosts, Airbnb photos are the first thing that attracts potential guests when browsing through listings. When done correctly, each photo can become a powerful tool that will help to boost guests’ attraction to your listing.
Airbnb listings with great photos get more views and appear higher in search results. It’s therefore essential to take great Airbnb photos to use in your marketing strategy.
But how exactly do you create top-quality photos that will drive inquiries and boost your occupancy rate? The good news is you don’t need to be a professional photographer to take great photos of your Airbnb property. By utilizing our tips for Airbnb photos, you can take superb pictures that will upscale your rental listing.
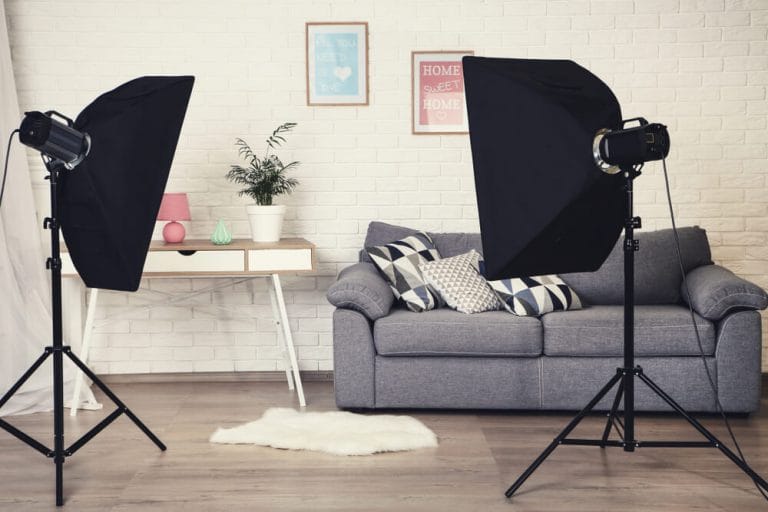
Read on to discover everything related to Airbnb photography, including preparation suggestions, equipment to use, and how to take the perfect photos.
1. How Many Photos Can You Put on Airbnb Per Listing?
2. What Are the Requirements for Airbnb Photos?
3. What Equipment Do You Need?
4. How to Take the Best Airbnb Photos [9 Helpful Hints]
5. How to Level Up Your Airbnb Photo Section?
6. Should You DIY or Hire a Photographer for Your Images?
How Many Photos Can You Put on Airbnb Per Listing?

Airbnb allows guests to see up to 100 photos for a listing, but that doesn’t mean you should upload that number. Having more photos doesn’t necessarily improve the listing, it could even do the opposite.
When uploading photos, you should prioritize quality over quantity. Having 10 bright, high-quality pictures is better than having 50 grainy and blurred images of your rental.
On the other hand, too few photos might not give guests enough of an idea of what your rental offers. They could also get suspicious if there are only a handful of photos.
Ideally, you should be uploading between 20 – 30 photos in total for your listing. Try to shoot several pictures for each room in your rental, and select the best ones to upload.
What Are the Requirements for Airbnb Photos?
Airbnb doesn’t have strict regulations for photos, but they do offer size and style guides. Airbnb recommends that hosts take pictures in a width-to-length aspect ratio of 3:2, with a minimum resolution of 1024 x 683px.
What Equipment Do You Need?
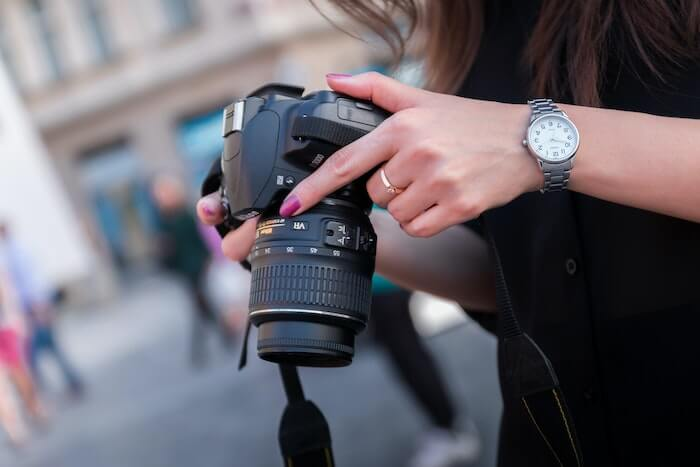
If you are shooting with a professional camera, make sure the camera is digital with adjustable settings that you can alter to your requirements. It’s also best to have a tripod that you can balance your camera on. This will allow your Airbnb photos to come out clear and crisp, as you won’t be straining to hold your camera steady. If you’re shooting with a cellphone, it would also be ideal to have some sort of stand to place your cell phone on to capture steady photos.
How to Take the Best Airbnb Photos [9 Helpful Hints]
1. Clean and Declutter
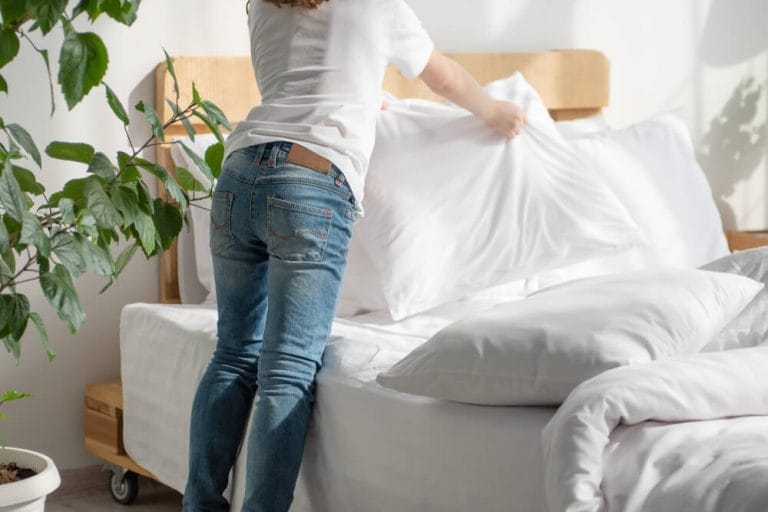
Before you begin shooting, make sure your vacation rental is spotless and pristine. Nothing puts guests off faster than pictures of a messy, unclean vacation rental. Follow these steps to clean up your Airbnb:
- Arrange your furniture and plump up sofa cushions.
- Wash and pack away any dirty dishes and make sure there are no visible stains in any areas you want to shoot.
- Vacuum and mop your floors to make them look sparkling.
- Pack away any clutter that could make your rental space seem smaller than it is.
- If you have lots of ornaments or books, be sure to pack them away. It’s nice to have some decoration, but too much could make your house seem more like a storage facility than a house.

Follow our vacation rental cleaning checklist to make your rental look spotless.
2. Prepare each room
Inspect each room before you begin to take your Airbnb photos to ensure they are prepped and ready. Make sure the curtains or blinds in the living room are open, and that the coffee table has one or two magazines on it.
For the bathroom, ensure the bathtub, shower, and sink have been thoroughly cleaned. You can add some candles around the bathroom, and some folded towels for a more luxurious feel. Ensure your kitchen countertops are sparkling, and that your pots, pans, and utensils are neatly arranged. This will make the Airbnb photography of your kitchen look even better!
Once your rental is ready for the photoshoot, you’re all set to begin! But before you start, remember your primary goal. Your Airbnb photos should be a visual display of your rental property and should highlight it at its best.
3. Turn on all the lights in the daytime
Having great lighting in your Airbnb photos will make them look more professional. Natural light helps to enhance the contrast, depth, and colors of your property. When shooting photos for your Airbnb listing, first open the blinds and curtains to let in natural sunlight.
One thing that Airbnb photographers can overlook is that you should always turn on all the lights before shooting. Turning on the indoor lights will eliminate any dark corners from your Airbnb photos. It also provides your potential guests with a clear view of what your place has to offer.
This is useful when taking photos of the kitchen or bathroom where there’s not as much natural light as the rest of the house. Turning on the lights will also help guests to see how clean your property is.
4. Shoot into a corner
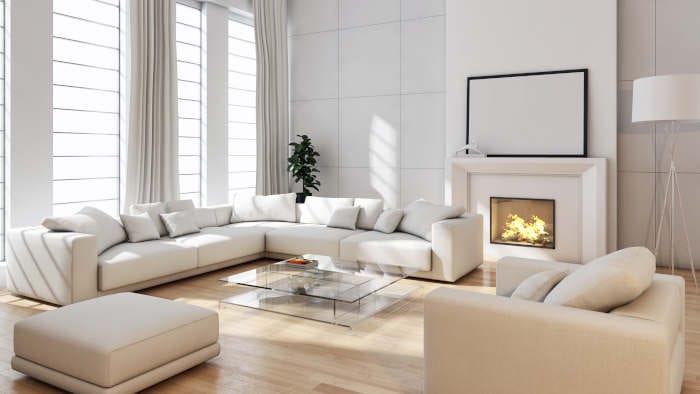
Always try to rather shoot into a corner of a room instead of shooting directly facing a wall. Shooting into a corner adds more dimension to the photo’s composition. It also gives a better perspective of the room space and will make the room look bigger and more inviting.
This rule applies to every room, including the kitchen and shower. In the bedroom, you would likely make the bed the focal point of the Airbnb photo, and the sofa in the living room. For the bathroom, the shower or bath would be the best focal point, while the stove/oven would be ideal for the kitchen.
Airbnb photography needs natural light. Try to include natural light into the above photo suggestions of your Airbnb listing to attract guests with lovely images.
5. Pay attention to the details in your Airbnb photo
Most Airbnb hosts get so caught up capturing major amenities of their property, that they forget about smaller details. Small details may seem insignificant but they can make or break a booking decision. When guests imagine themselves staying at your rental, the little details help complete the picture.
Show the things that fill your property with personality and are there to make guests feel welcome. If you own collectibles, an outdoor shed, or have a veggie garden, add some photos of them to your listing. Guests want to see that your home has character and is more than just an upscale Airbnb property.
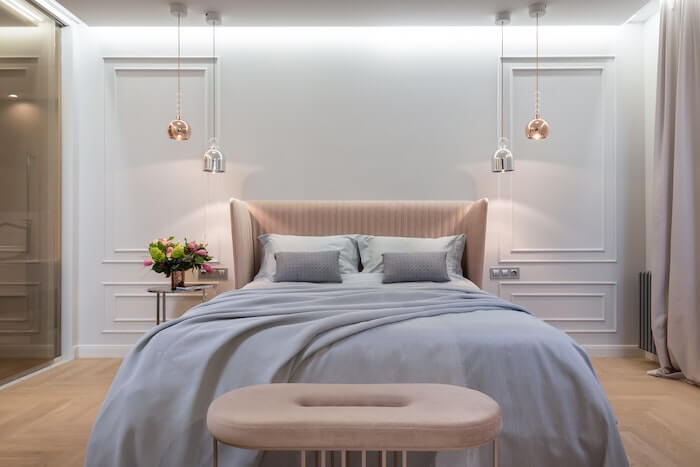
6. Take panoramic shots
Panoramic shots are the best way to show off an entire room in a single photo. If you don’t have a way to take panoramic shots, then use a wide-angle lens for some shots. This type of Airbnb photo will give potential guests a better idea of the size of a space. It will also make you a more trustworthy host, as it shows you have nothing to hide.
Vertical shots can also be used in images of outdoor spaces. If you have outdoor areas that you want to highlight, pick something as a central focus, like a hot tub.
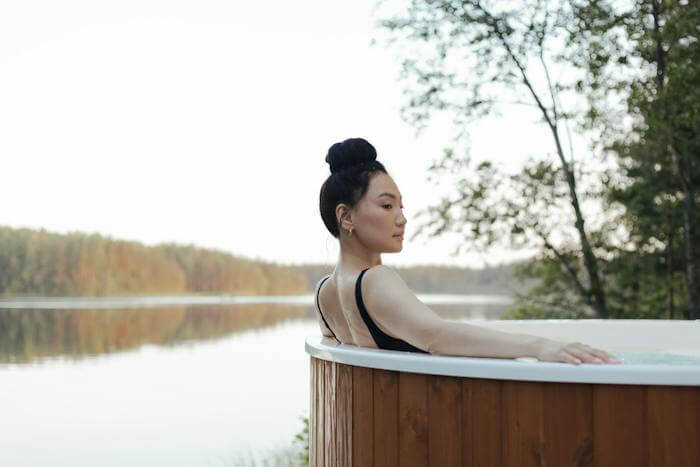
7. Take photos from different angles
It’s rather boring for guests to look through dozens of Airbnb photos all taken from the same angle. Add some variety by taking photos from different angles, like ceiling down or ground up. However, make sure that you are also capturing the amenities that guests want to see. Don’t only do it just to seem artistic!
8. Paint a lifestyle with your Airbnb Photos
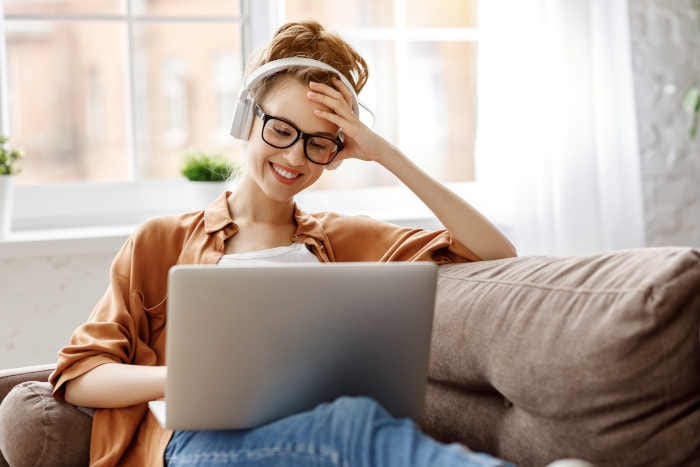
While some guests appreciate more practical photos, the majority choose a property based on the lifestyle that it offers. Use your Airbnb photo collection to show what kind of lifestyle guests could enjoy there.
If your property offers rustic living, you could include a copper stovetop kettle and a cheeseboard. If it’s a sleek, urban pad, you could add luxury toiletries to the bathroom, for a glam touch. If your guests enjoy the outdoors, show them where you keep your outdoor gear, ready to use.
These types of photos will help attract specific types of guests to your property. You will likely earn more from certain demographics than others, so try to cater to your ideal guests in your photos.
9. Take photos around town
Once you’ve perfected your rental’s interior and exterior photos, don’t forget to take pictures of your neighborhood! People love to see where you live just as much as the property in which they will be staying. So make sure to get a few photos of nearby restaurants and local attractions.
Don’t just take one photo and leave it at that. Dedicate a bit of time to capture the essence and feel of your neighborhood in your photos. If it’s in the middle of the city, capture some shots of the nearby hustle and bustle. If it’s in a charming, quiet neighborhood, take shots of the local park or bridge.
How to Level Up Your Airbnb Photo Section?
Organize your photos into separate categories
After you have finished taking your Airbnb photos, it helps to organize and categorize them. If you upload your photos in no particular order, guests won’t be able to get an idea of your rental’s layout. Try to group your photos by room and area, so you can begin deciding which ones are the best.
Upload your most attractive photos first
Choose one photo from every room and area to upload first. This gives viewers an idea of what they can expect to see in your rental before browsing the pictures. Uploading your most attractive photos first will draw viewers in, and entice them to look at more.
Once you have given viewers a taste of what your rental offers, you can upload the rest of your photos in categories. Most listings start with the kitchen images, before moving on to the living room, bedrooms, bathrooms, outdoor areas, and neighborhood. Try to aim for 20 – 30 photos to create a comprehensive overview.
Caption all your Airbnb photos
It’s very important to add captions to every photo that you upload. People browsing online have a shorter attention span than in real life. Captions can help to maintain your audience’s attention while they browse your Airbnb photos. Don’t add a caption that adds no value to the photo.
For example, writing “This is the bathroom” or “bathroom 1” for a bathroom picture offers no context. The viewer can already see it’s the bathroom, and they’re likely to skip through your photos faster.
Try to write a caption that highlights the focal point of each picture. If you have a bathroom picture of your shower, mention the maximum temperature it can reach.
If you have a picture of your bath, describe how guests can run a bubble bath, and relax with a good book. You should be using your captions to highlight and promote your rental’s unique amenities to guests.
Optimize your Airbnb listing further by using this guide.
Should You DIY or Hire a Photographer for Your Images?
Now that you know the basics of Airbnb photography and have prepared your rental for shooting, you need to ask yourself who will be taking your Airbnb pictures. Remember that your photos will be one of your primary factors driving bookings.
If you don’t have any experience in photography, it might be worthwhile to look for professional photographers who specialize in taking Airbnb photos. You need the best photos possible. The first image on your Airbnb listings should be your best photos. They are a visual representation of the theme and vibe of your
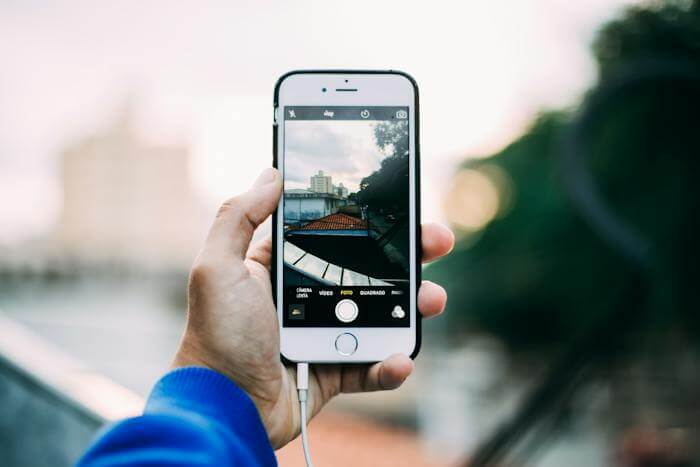
Although it helps to have high-tech equipment if you decide to go the DIY route, most smartphone cameras can also take high-res images suitable for professional photography. Utilizing an editing tool can help to sharpen and polish your photos.
In addition to enhancing your photos, an editing tool like Picsart can also help you get creative with your images. The AI picture generator feature uses artificial intelligence to apply unique styles and filters to your photos, allowing you to create one-of-a-kind art pieces that are sure to stand out.
Top apps to edit your photos:
VSCO
VSCO is a premium photo-editing app that enables users to adjust focus and clarity, use gridlines for accurate composition, and much more. It also offers a range of filtering and editing tools for color and exposure editing.
Snapseed
Snapseed is Google’s answer to Adobe Photoshop. Snapseed allows you to save your style presets (settings) for future pictures, and it offers nearly all of the same functions of Photoshop, for free.
Adobe Lightroom for mobile
Adobe Lightroom is one of the most popular editing apps for professional photographers. The app comes with a built-in camera that can take photos through your phone, which you can then edit and adjust for exposure, aperture, etc.
It offers both a free and premium plan, on which you can access more advanced features. So, to elevate your Airbnb game, consider utilizing photo editing software as a powerful tool.
Conclusion
Creating gorgeous, eye-catching Airbnb photos to upload to your rental listing is a sure way to guarantee ongoing bookings and inquiries. Another way to drive business growth is to automate repetitive, time-consuming tasks. Vacation rental software, like iGMS, sets your short-term rental business on autopilot, allowing you to focus on business development and scaling. With iGMS on your side, you can:
- Managing multiple accounts and listings on the top OTAs from a single interface
- Synchronizing reservations across multiple platforms to eliminate the risk of double bookings
- Organizing messages into a single feed with a unified inbox
- Improving communication with automated templates and triggered messaging
- Creating and coordinating cleaning tasks with live tracking to completion
- Creating your own direct booking website

About the Author
Phoebe Gunning is a content writer in the Marketing Department at iGMS. She is passionate about the vacation rental industry, notably helping hosts make the most out of their vacation rental businesses. Some of her hobbies include reading, traveling, and drinking a good cup of coffee.


![Complete Vacation Rental Email Marketing for Hosts [+ Top Tools]](/content/images/size/w600/2026/01/email-marketing.jpg)
